Bringing applicators out of hibernation – Jon Urness, Vita Plus
 By Jon Urness, Vita Plus national forage specialist
In a couple months, we’ll be counting on our forage inoculant applicators to apply inoculants reliably and accurately. How we ease them into service could have a huge impact on how they perform throughout the harvest season. Let’s concentrate on low-volume applicators powered by a peristaltic pump.
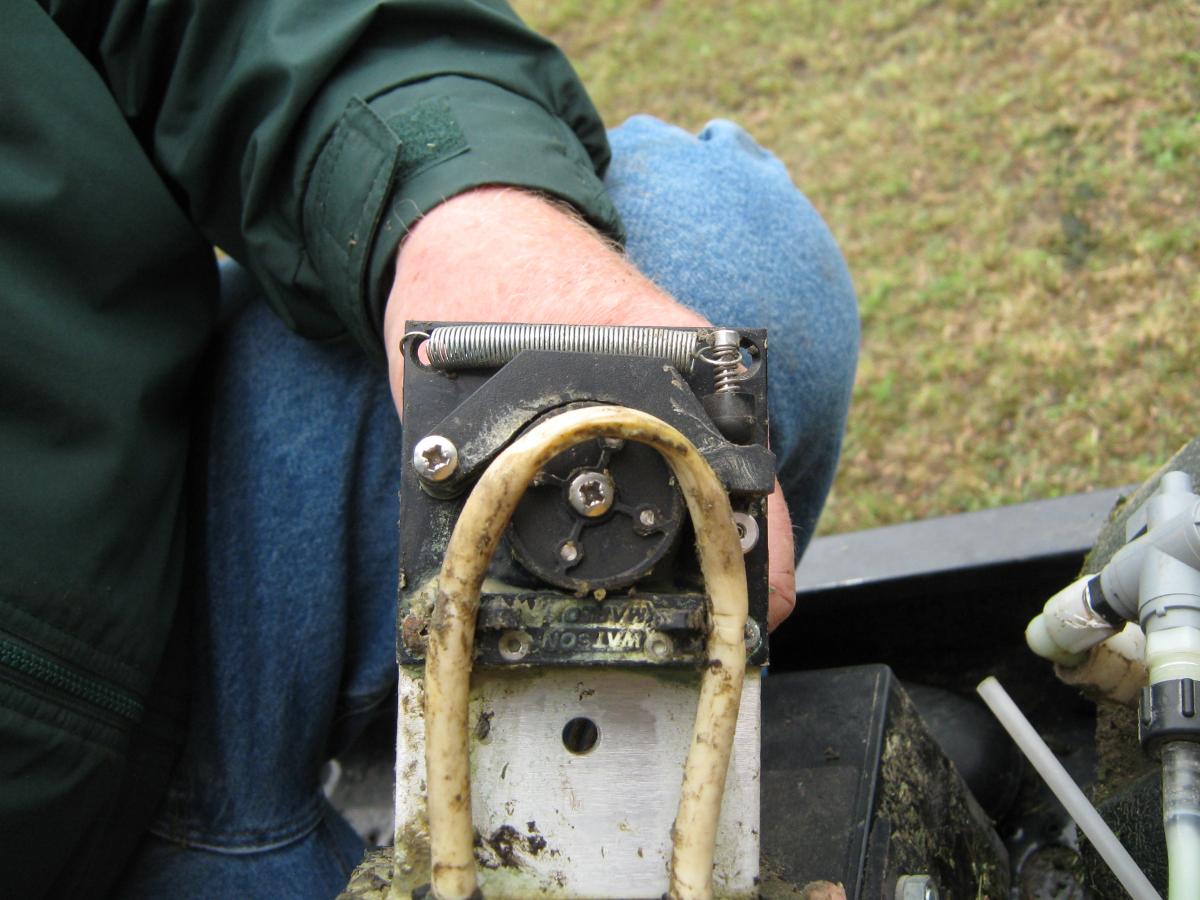
Pump tube
The first item to inspect and replace at the beginning of each season should be the pump tube. This tube can be found under a cover or flip-up lid on the upper portion of the pump unit. On newer units, the old tube will snap out and back in very easily. Older units require a little more effort, but they are still quite easy to replace. The old tube may look fine, but, if it has had any use at all and has sat idle all winter, it will likely be stiff, flattened, or even slightly brittle. In any case, it is the heart of the system and should be renewed at least once a season.

Replace the pump tube every year and make sure you have a spare.
Clean the tank and flush the system
If you haven’t done so already, wash the inside of the tank with soapy water and run it through the system to make sure everything flows, the speed control switch functions, and the flow meter indicator ball is free and moving. Next, flush the system with some clean water to make sure no soapy residue is left behind.
Flow meter and hoses
Speaking of the flow meter, it’s a good idea to disconnect it entirely and run extra soapy water through it. Too often, when a producer has a question about these applicators not applying correctly, the problem can be traced to a stuck indicator ball. For these to be accurate, tolerances must be tight, and it doesn’t take much crud to bring everything to a halt.
After you’ve cleaned things up, if the hoses don’t appear nice and clear, it may be time to renew them. They’re not expensive, and hoses that have a green-blue residue on the inside actually restrict the flow of inoculant and can cause bacterial contamination.
Power
If you’re performing this maintenance at the work bench, and everything seems to be working, you’re probably hooked up to a 12-volt power source. You should also plug the whole unit back into the chopper power source to make sure it has a reliable power source there. Pinched wires between the frame, or even in cab doors, can stop all power from reaching the applicator.
Occasionally, power may appear to be coming in, but the unit still doesn’t function. It’s fairly easy to bypass the speed control switch by separating the connecting wires and momentarily connecting the power direct. It’s a rare occurrence, but if the pump runs while wired direct, then the problem is with the speed control switch. We’ve also heard of operators spending hours trying to isolate a power problem and forgetting that many machines have a header switch that turns power on only when the header is down or engaged. Don’t be that guy!
Discharge filter
Before you declare everything spic and span, take a look inside the applicator tank and examine the tank discharge fitting. The wire filter can become clogged. Just clean it up and you should be good to go. It’s the only filter on this kind of system.
Calibration
Finally, to confirm accurate operation, you’ll want to perform a quick calibration. Remember, this system is designed to apply 1.28 ounces (40 ml) of fluid per ton of silage. Get the system running with clear water, set the flow meter indicator ball to “3” on the red scale, indicating 3 tons per minute, and catch the discharge for exactly one minute. The result should be very close to 3.84 ounces (120 ml). The math is simple: 3 tons per minute X 1.28 ounces = 3.84 ounces collected.
You can also watch this video to learn more about bringing your applicator out of hibernation. Have a safe and productive harvest season!
| Category: |
Equipment Forage Foundations Forage harvesting |

